Welcome to SafeIn!
Congratulations on joining India's most advanced visitor intelligence platform. This guide is designed to take you from your first login to a fully operational, high-security digital reception.
In SafeIn, the workflow is designed to be intuitive. After you log in, follow these critical steps to ensure your organization is secured and efficient.
Step 1: Your First Login & Profile Setup
Once you receive your login credentials, head over to the login page. After successful authentication, your first priority should be your account settings.
- Complete Business Profile: Navigate to Settings > Profile. Add your company name, official address, and contact details.
- Upload Branding: Go to the branding section to upload your company logo. This logo will appear on visitor invite emails and printed badges.
- Configure Notifications: Ensure your SMTP or Email settings are active under Settings > Email so that invites reach your guests instantly.
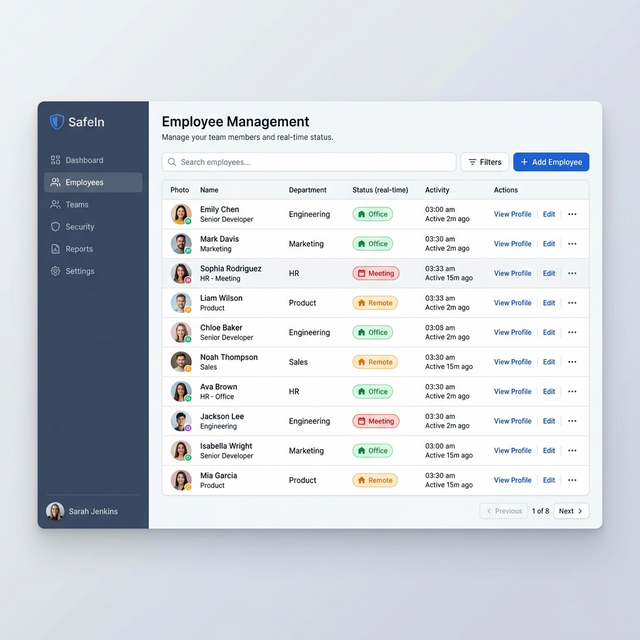
Step 2: Employee Registration & 'Workforce Hub'
A visitor management system is only effective if your employees are registered. Your staff members act as 'Hosts' for visitors.
- Manual Registration: Admins can add individual employees via the Workforce Hub. Each employee will need a unique email or mobile number to receive arrival alerts.
- Bulk Import & Onboarding: For larger teams, use the Bulk CSV/Excel Import feature. This allows you to onboard hundreds of employees in one click.
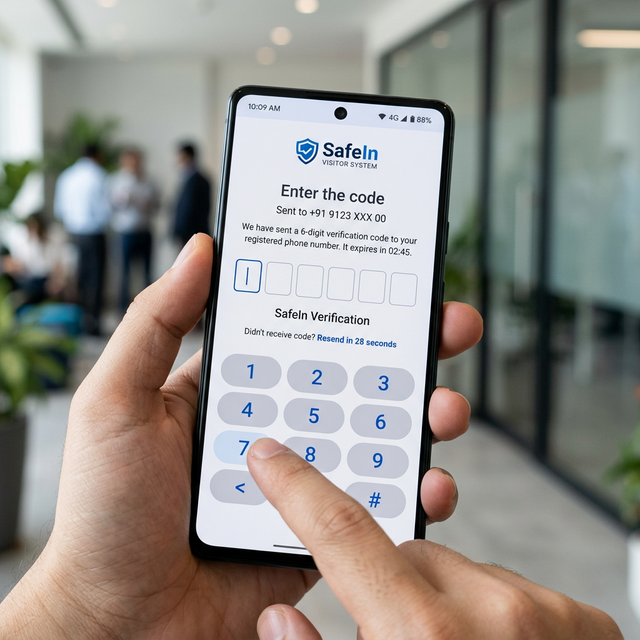
- OTP Verification: When employees join, they verify their accounts using a secure OTP system, ensuring only authorized personnel can act as hosts.
- Define Roles: Assign roles such as Admin for full control, or Receptionist for front-desk access only.
Step 3: Activating 'Smart Appointments'
Now that your team is ready, start inviting guests. SafeIn offers two primary ways to schedule visits:
- Priority Booking: The host fills in the visitor's details directly. The visitor receives an automated OTP (One-Time Password) via WhatsApp and Email for secure verification.
- Smart Invite Links: Send a registration link via WhatsApp or Email. The visitor clicks the link, fills in their own details, and the appointment is automatically booked.
- Pre-Verification: You can ask visitors to provide their details (like vehicle number or ID) before they even arrive.
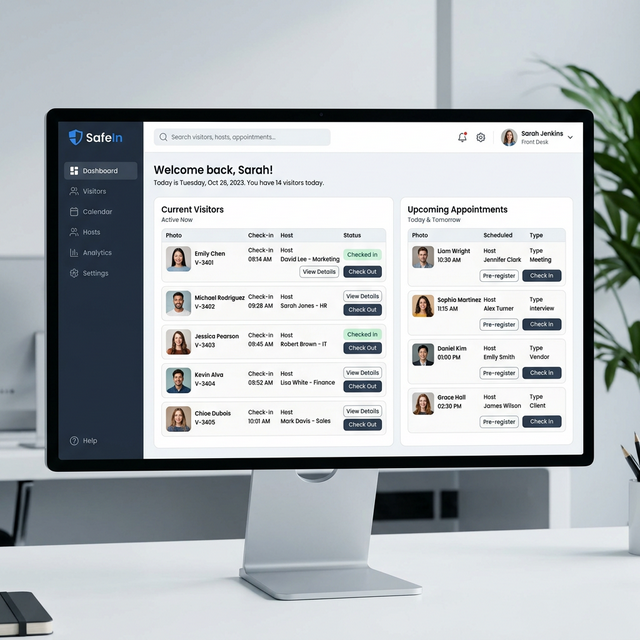
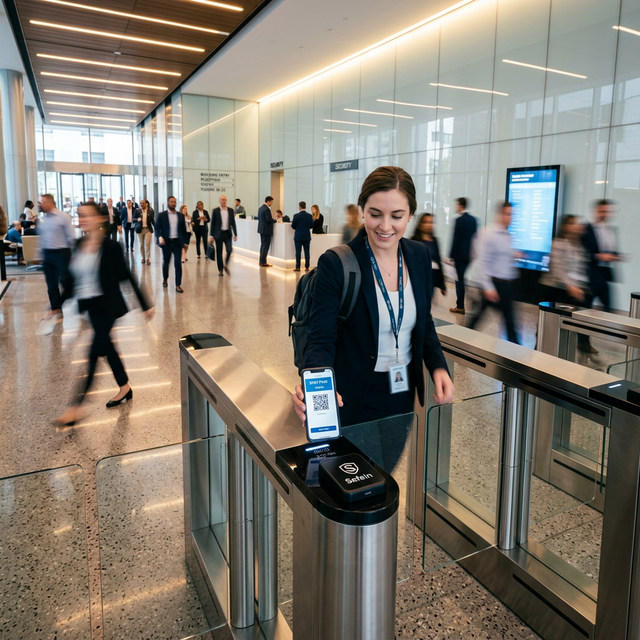
Step 4: Managing Walk-ins with 'Spot Pass'
For visitors who arrive without an appointment, SafeIn provides the Spot Pass feature.
- Spot Pass Creation: The security guard or receptionist can generate a 'Spot Pass' directly from the dashboard.
- Frictionless Entry: Unlike Priority Bookings, Spot Pass does not require an OTP, allowing for rapid registration of walk-in guests.
- Instant Notification: As soon as a Spot Pass is generated, the assigned host receives an instant alert.
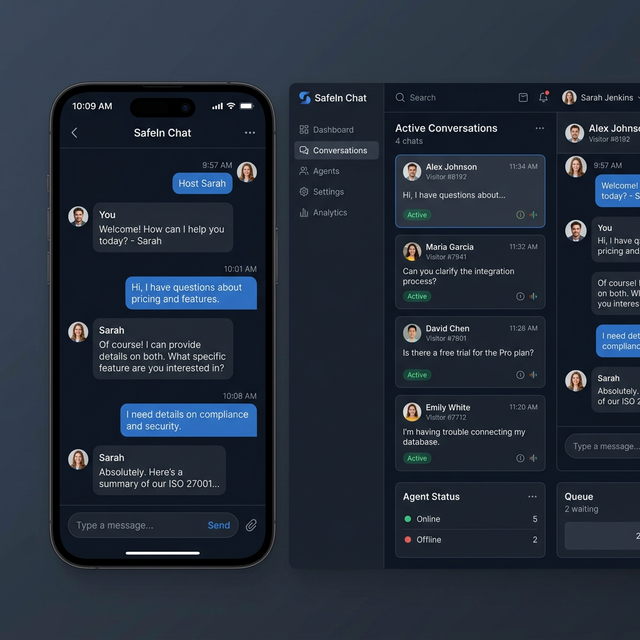
Step 5: Real-time Employee Chat & Communication
One of the most premium features of SafeIn is the Integrated Messaging System.
- Host-Visitor Direct Chat: Hosts can chat directly with their arriving visitors through the dashboard or mobile app.
- Status Updates: Tell your visitor "I'm on my way" or "Please wait in the cafe" with one click.
- Secure History: All communication is encrypted and stored in the visitor log for security audits.
Step 6: Advanced Settings & Core Integrations
To fully automate your workflow, you must configure your communication channels under Settings.
- SMTP Configuration: By default, SafeIn sends emails from its official server. To use your own company email (e.g., reception@yourcompany.com), go to Settings > SMTP. Enter your server host, port, and credentials to enable white-labeled email invites.
- WhatsApp API Integration: Enable the WhatsApp channel to send secure OTP codes and Smart Invite Links directly to your visitors' phones. This has a much higher open rate than traditional email.
- SMS Gateway: Configure SMS as a secondary fallback. This ensures that even visitors without an active internet connection receive their entry codes and arrival alerts instantly.
- Notification Center: In Settings > Notifications, you can toggle which events trigger alerts (e.g., Visitor Arrival, Check-out, Messages) and choose the delivery channel (Email, WhatsApp, or SMS) for each specific event.
Summary of the Flow
1. Admin Setup: Profile, Branding & SMTP/WhatsApp Settings
2. Workforce: Manual or Bulk Employee Registration
3. Operation: Create Appointments or Spot Passes
4. Communication: Chat directly with visitors or automate alerts via WhatsApp/SMS
5. Intelligence: Review dashboard data and audit logs.
If you encounter any issues during these steps, our 24/7 Live Chat is available right inside your dashboard to assist you.