Employee Directory Management
For the system to function effectively, your employee database must be up to date. Employees need accounts to invite visitors and receive arrival notifications.
Adding Employees
Manual Entry
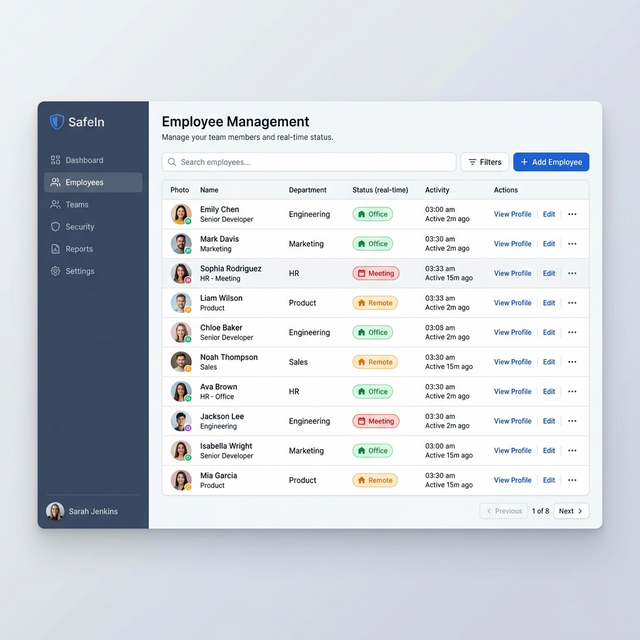
- Navigate to the Users / Employees section.
- Click the "New Employee" button.
- Required Fields: First Name, Last Name, Official Email Address.
- Department: Assigning a department (e.g., HR, Engineering) helps in filtering reports.
- Phone Number: Required for SMS notifications.
Directory Sync (Enterprise)
For larger organizations, manual entry is inefficient. SafeIn supports integration with Active Directory, Google Workspace, and Okta. Configuring this sync ensures that when an employee leaves the company, their SafeIn access is automatically revoked.
The Verification Process
Security is our top priority. For an account to become fully operational, every employee must be verified.
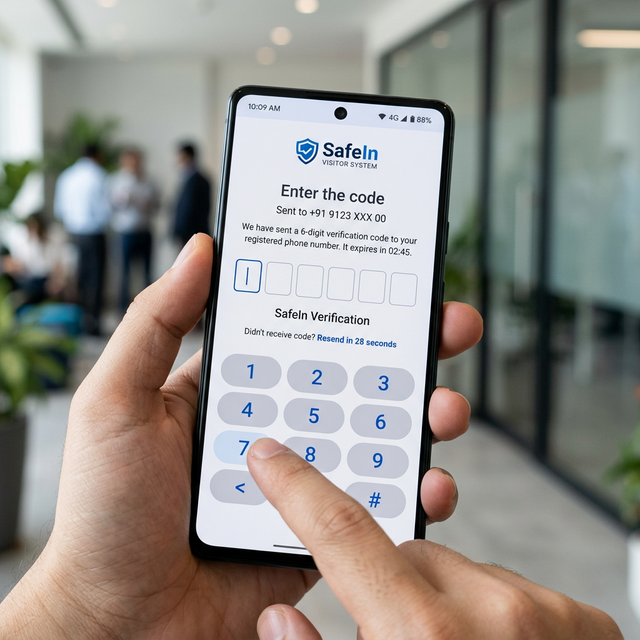
- Verification Link/OTP: When an employee is added, they receive a secure invitation. They must click the link and verify their identity via a one-time password (OTP) sent to their official email or phone.
- Why it's Required: This ensures that only authorized personnel can act as 'Hosts', create appointments, and receive real-time visitor alerts.
- Resending Invites: If an employee hasn't verified their account, you can use the "Resend Verification" button from the employee management table.
Editing and Offboarding
Click on any employee row to edit their details. If an employee leaves:
- Do NOT Delete: Deleting a user removes their historical appointment data, breaking your audit trails.
- Deactivate Instead: Toggle the "Active" status to "Inactive". This prevents login but preserves all history.